Here is a step-by-step instructional on how to setup the booth banner that is included in at least one of the HPR booth kits.
-
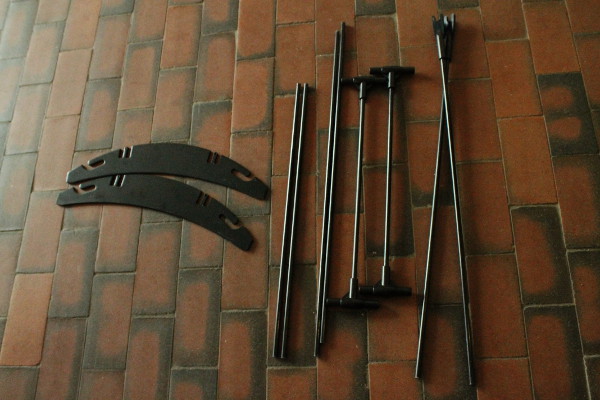
Here are the pieces included with the kit: 2 feet, 2 short rods, 2 long rods, 2 I-rods, and 2 Y-rods.
-
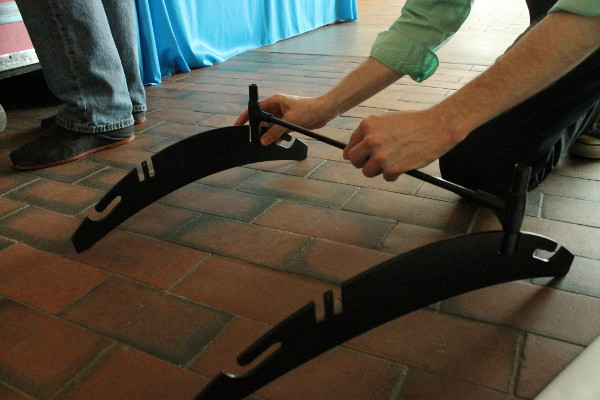
Place one I-rod so that it connects the metal feet pieces. The fit is not tight, so expect it to be a little floppy at this point. Tension will be introduced later that will hold all of this together.
-
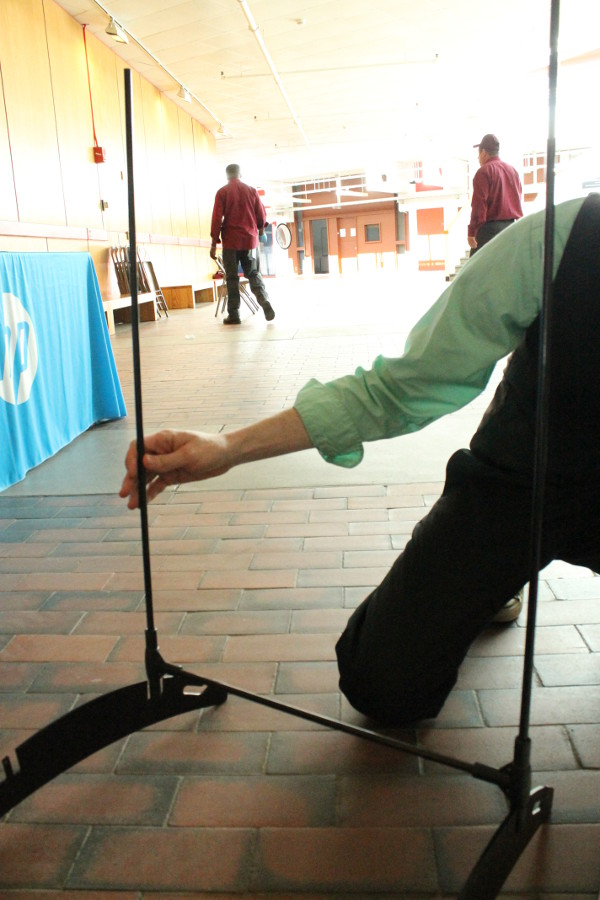
The two long, plain rods are placed in the remaining two sockets of the I-rod.
-
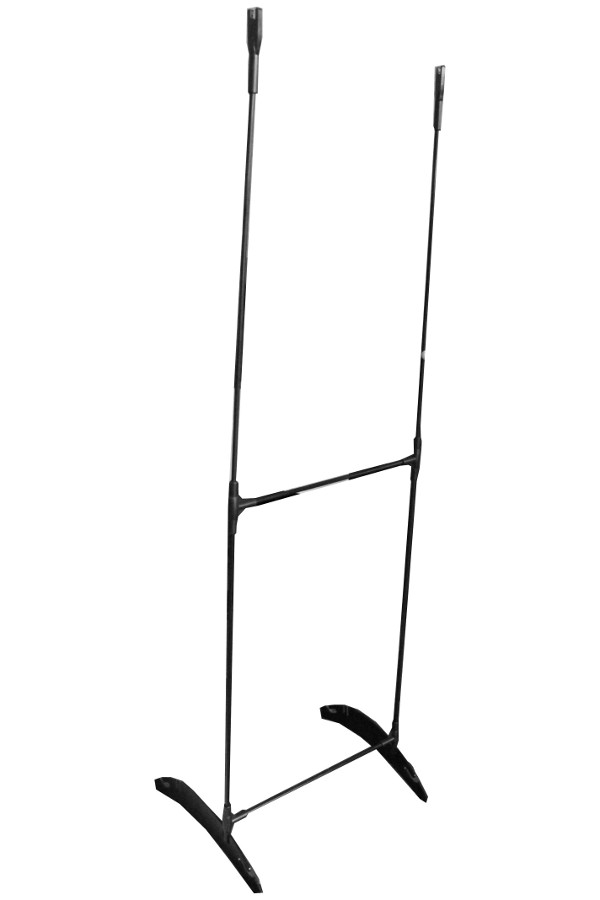
Connect the second I-rod on the long rods, and then the Y-rods into the remaining sockets. In the end, your full assemply will look like this.
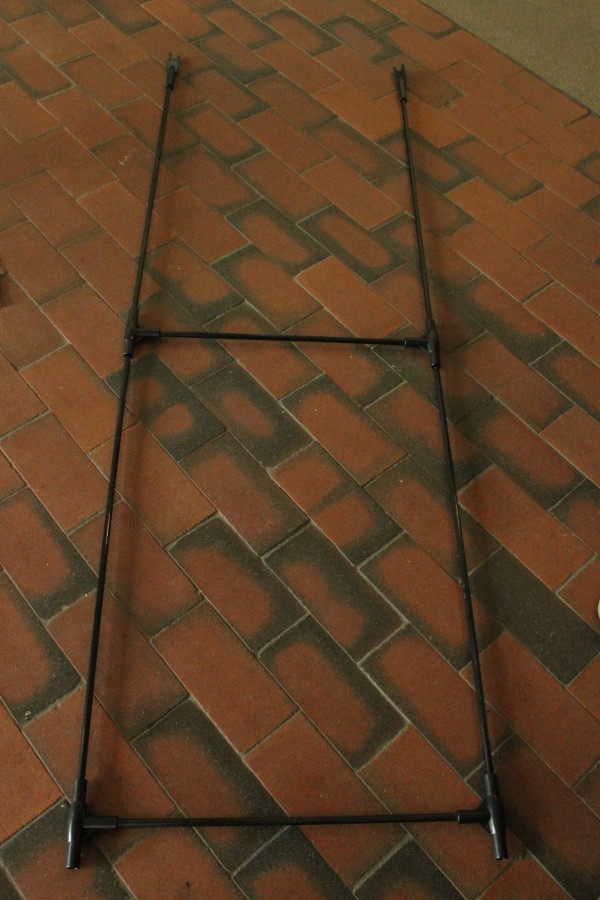
Or, standing on feet:
Slide the shorter plain rods to support the banner itself.

-
Attach the banner to the stand by hooking the top rod into the notch of the Y-rods.
-
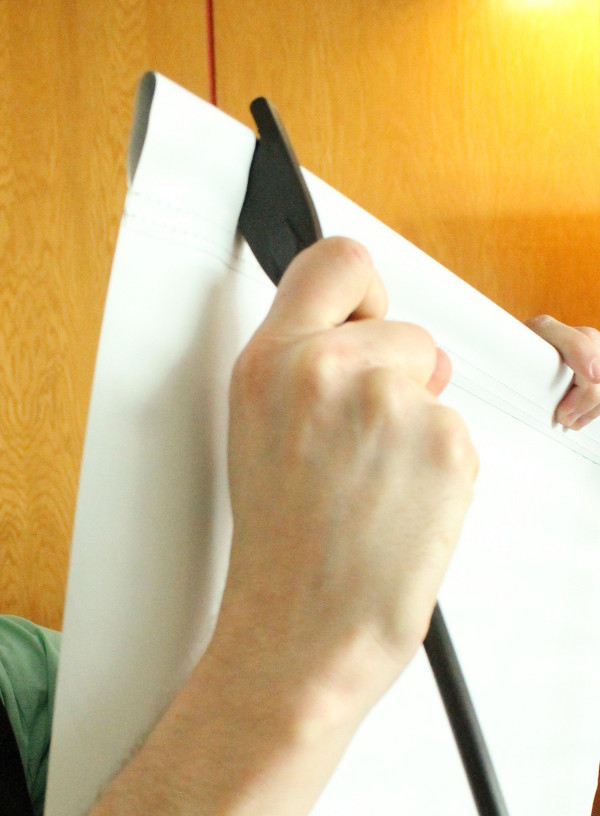
Attach the banner to the stand by hooking the bottom rod into the L-notch in the feet.

notice that this provides tension that will stretch the banner taut and bend the rest of the stand forward. In other words, it's supposed to be tight at this point so don't be afraid to put a little muscle into it.
-
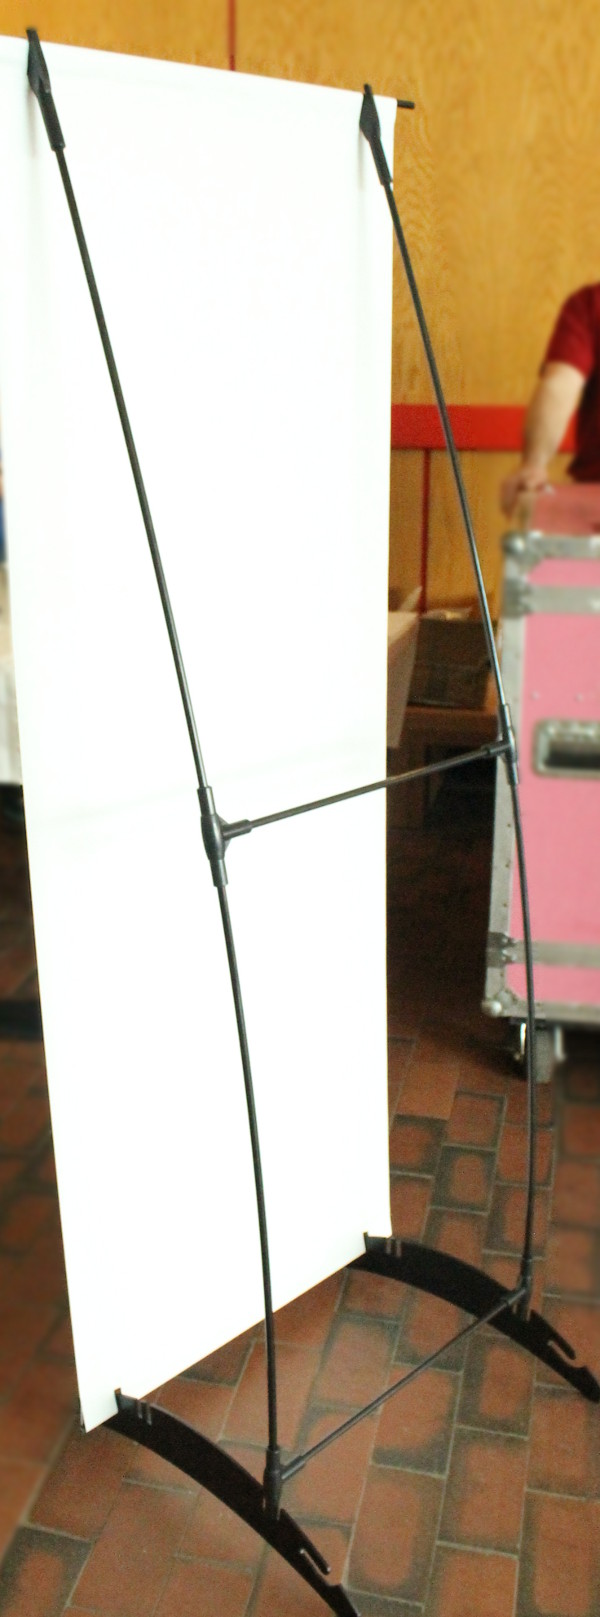
The final banner should look like this.
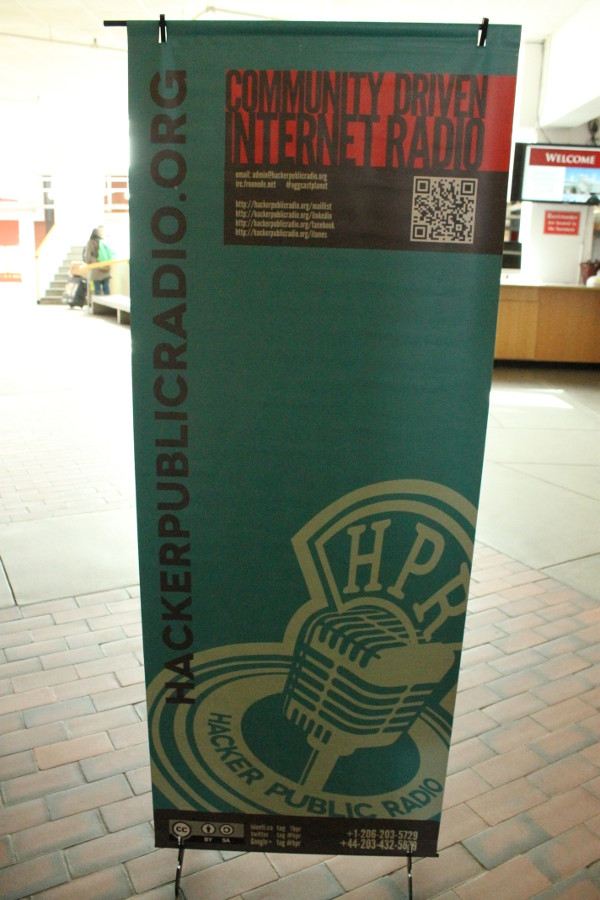
This tutorial was created at the NorthEast Linux Fest; thanks to David Whitman for the banner, Rquerin for the banner design, Cyanide Cupcake for the photos, Klaatu for creating this page, and Jacob and Pokey for their assistance.